-
×
 Epson Service Manual: The Definitive Guide for Your Epson Stylus Photo R1900 & R2880 A3+ Printers
1 × 6 $
Epson Service Manual: The Definitive Guide for Your Epson Stylus Photo R1900 & R2880 A3+ Printers
1 × 6 $
Subtotal: 6 $

Original price was: 9 $.6 $Current price is: 6 $.
You’re looking for the Epson Stylus Photo R220/R230 Service Manual. These older but still popular photo printers often require specific technical guidance for repairs and maintenance that goes beyond the basic user manual.
The Epson Stylus Photo R220 and R230 are well-known inkjet printers, particularly favored for photo printing. While robust in their time, like any electronic device, they can develop issues as they age or with heavy use. For anyone needing to perform detailed maintenance, troubleshoot complex problems, or replace internal components, the Epson Service Manual for these models is an invaluable resource.
Unlike the simple user guide that comes with your printer, a service manual is a highly technical document created for trained service technicians. It provides an in-depth look at the printer’s entire architecture, from its mechanical parts to its intricate electronic circuits and software functions. Having this manual will empower you with the knowledge to:

Epson Service Manual
Epson Service Manual: The Essential Guide for Your Epson EcoTank L1300 A3+ Inkjet Printer
Epson Service Manual
Epson Service Manual
Epson Service Manual
Epson Service Manual
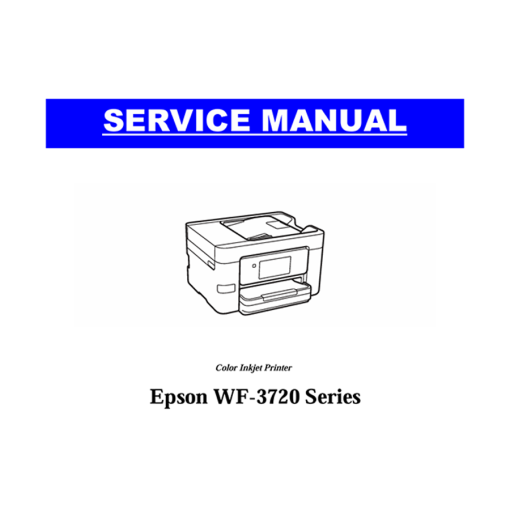
Epson Service Manual: Your Expert Guide to Repairing the Epson WorkForce Pro WF-3720 Inkjet Printer
Epson Service Manual
Epson Service Manual
Epson Service Manual