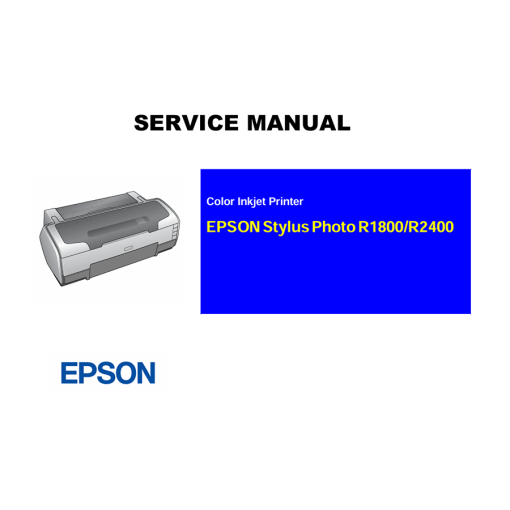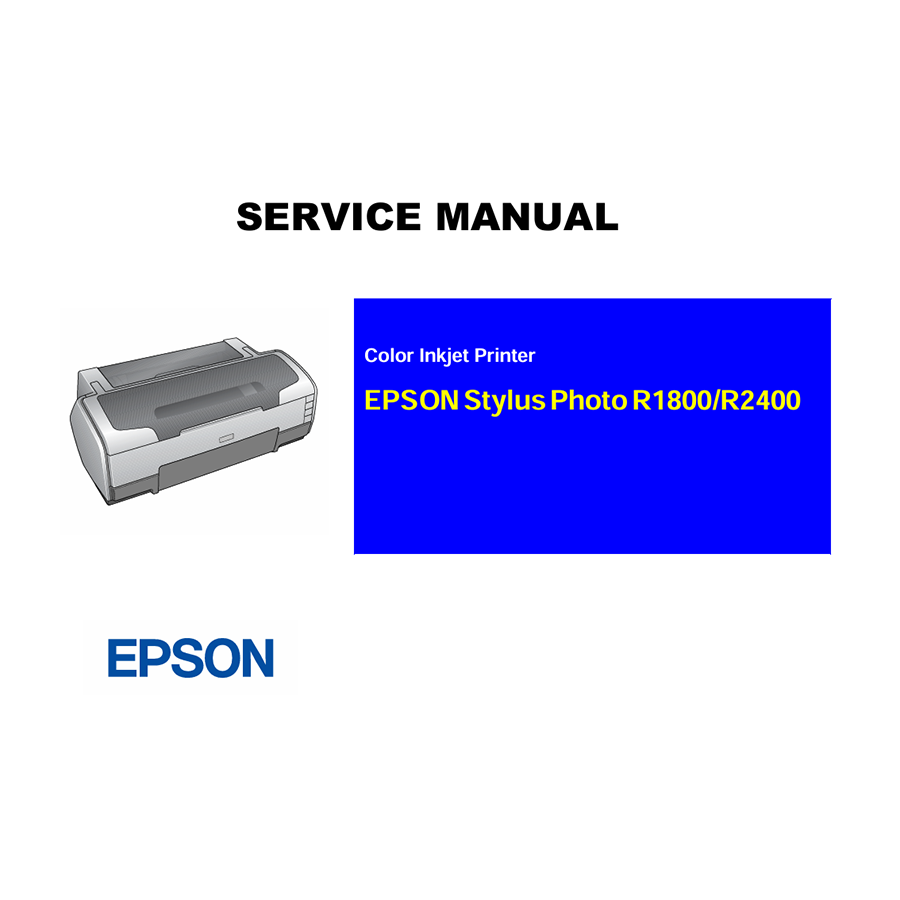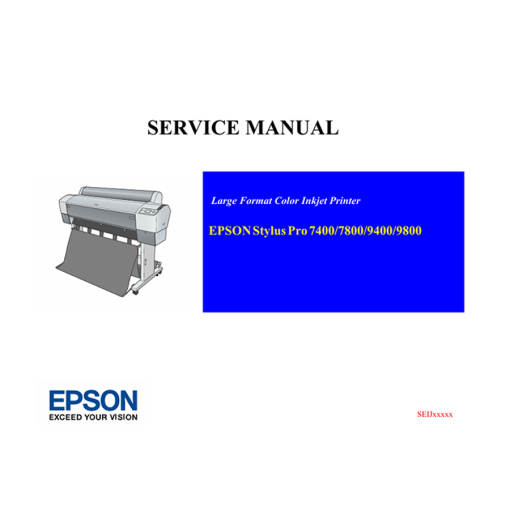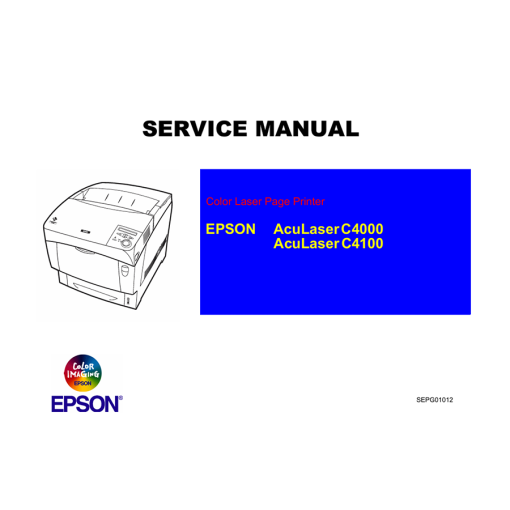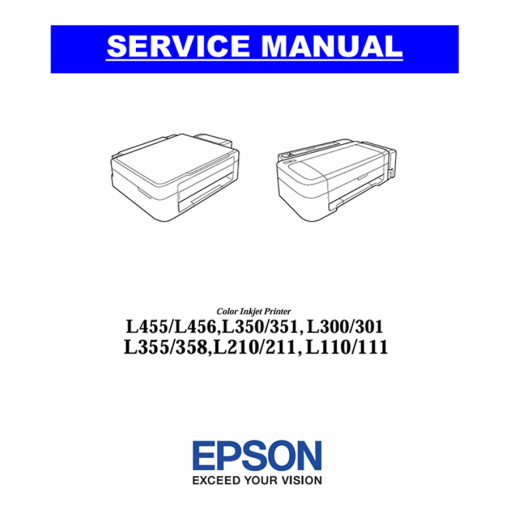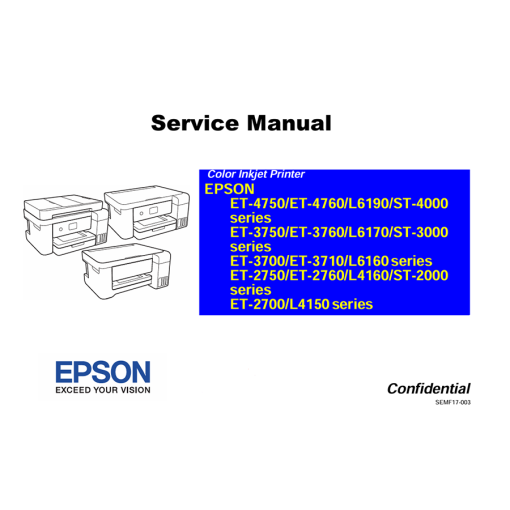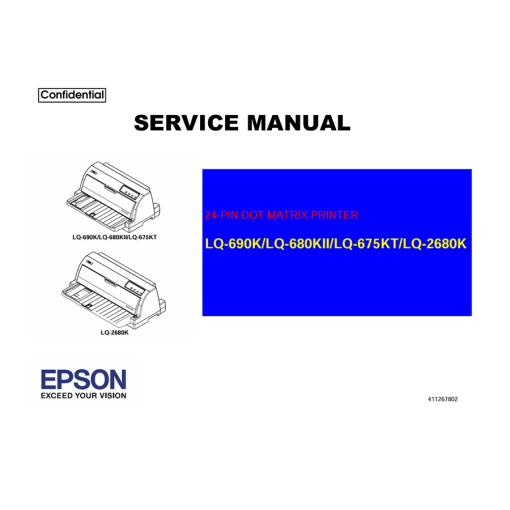
For discerning photographers, fine art printers, and graphic professionals who demand exceptional print quality and versatility, the Epson Stylus Photo R1900 and Epson Stylus Photo R2880 A3+ inkjet printers have long been celebrated. The R1900, with its 8-color UltraChrome Hi-Gloss 2 pigment ink set (including Red and Orange), excelled at vibrant, glossy prints. The R2880, featuring the 9-color UltraChrome K3 with Vivid Magenta pigment ink set, became a benchmark for stunning black & white prints with impressive tonal range, as well as highly archival and accurate color output on a variety of media. These printers also offer advanced paper handling, including thick media support and direct CD/DVD printing.
While these printers are built with Epson’s renowned precision, like any complex machinery, they can develop issues over time that impact their functionality or, more critically, their exquisite print quality. Instead of facing expensive professional repairs or the challenging task of finding a suitable replacement for these niche printers, imagine possessing the exact technical knowledge to diagnose, meticulously calibrate, and resolve problems yourself. This is precisely what the Epson Stylus Photo R1900 / R2880 English Service Manual provides – your ultimate resource for expert repair, intricate calibration, and long-term optimal performance maintenance of these beloved photo printers.
What is the Epson Stylus Photo R1900 / R2880 Service Manual?
The Epson Stylus Photo R1900 / R2880 Service Manual is Epson’s official, highly detailed technical document created specifically for this advanced range of A3+ professional photo inkjet printers. Far more comprehensive than the user manual, which focuses on basic setup and everyday operations, this service manual is an absolute necessity for trained service technicians and ambitious DIY enthusiasts. It offers an in-depth exploration of the intricate mechanical, electrical, and firmware systems that power these printers, with a particular focus on their high-fidelity color reproduction, advanced media handling, and specialized components. Essentially, it serves as the definitive blueprint, guiding you through every step of understanding, troubleshooting, disassembling, calibrating, repairing, and accurately reassembling your Epson R1900 or R2880 printer to maintain its factory-level optimal performance.
Key Repair Information and Contents You’ll Discover Inside
This comprehensive service manual is a goldmine of technical data, absolutely vital for anyone looking to perform in-depth maintenance or repairs on their Epson R1900 or R2880 photo printer. You can expect to find:
- Product Description and Specifications: A thorough overview of the various models within this series, outlining their unique features, detailed technical specifications (e.g., specific 8-color or 9-color pigment ink sets, high resolution, A3+ paper handling capabilities for various photo and fine art media, direct CD/DVD printing, and connectivity options like USB 2.0). It will meticulously detail their MicroPiezo print head technology designed for precise droplet placement.
- Operating Principles / Theory of Operation: Detailed explanations of how the printer’s various mechanisms function, with particular emphasis on their high-fidelity photo printing aspects. This includes:
- The precise multi-color ink delivery system (how ink flows from individual cartridges to the print head, ensuring stable ink supply for all colors, including specific black ink switching for the R2880).
- The intricate operation of the print head and carriage movement, including precise droplet placement and firing sequences crucial for high-resolution photo prints with smooth gradients and fine detail.
- Advanced paper feeding mechanisms designed to handle a wide array of photo papers, thicker fine art media, roll paper, and the CD/DVD tray mechanism.
- Crucial waste ink pad/maintenance tank management, including detailed information about its functionality and the process for replacement and counter reset, which is essential given the high volume of cleaning cycles in photo printers.
- Safety Information: This section is paramount. Working with electrical components, delicate moving parts, and a multi-color liquid ink system requires extreme caution. The manual provides explicit warnings and precautions, emphasizing how to safely disconnect power, handle sensitive electronic components (like the main board and the specialized multi-channel print head), and prevent ink spills or exposure. Always prioritize your safety by carefully reading and following these guidelines.
- Disassembly and Assembly Procedures: Step-by-step, clearly illustrated instructions guiding you through the safe and correct method for taking apart and putting back together every section of your printer. This is crucial for accessing internal components such as the print head, capping station, pump assembly, paper rollers, sensors, or logic boards for cleaning, inspection, or replacement. Special attention is typically given to disassembling components related to the precise paper path, CD/DVD printing, and the intricate ink delivery system.
- Troubleshooting Guides: Extensive sections dedicated to diagnosing common and complex problems. These are often presented with logical flowcharts and tables, helping you pinpoint the root cause of an issue based on observed symptoms, detailed error codes, or print diagnostic patterns. This includes:
- Comprehensive Error Code List: A thorough enumeration of all diagnostic error codes that your printer might display via status lights or software, detailing their meaning and precise recommended steps for resolution. Issues like “Service Required” or waste ink tank warnings are thoroughly addressed.
- Advanced Photo Print Quality Issues: In-depth guidance on troubleshooting and resolving complex print defects specific to 8/9-color photo printing, such as color shifts, banding (especially subtle banding on smooth gradients), graininess, misaligned prints, faded or incorrect color rendition across the entire gamut, streaks, blurry prints, or missing lines across specific color channels. Solutions often involve specific nozzle checks, powerful cleaning cycles, advanced print head alignments (including bidirectional alignments), or identifying specific component failures (e.g., a single nozzle or damper).
- Paper Handling Problems: Solutions for various paper jams specific to diverse photo media and thicknesses (including instructions on how to safely clear them), misfeeds, or issues with specialty paper/CDs not picking up correctly from various input trays or the CD tray.
- Ink System Issues: Specific troubleshooting for ink flow problems, air bubbles in ink tubes (especially critical in multi-channel systems), cross-contamination, or difficulties with ink cartridge recognition and ink delivery.
- Adjustment Procedures: Absolutely critical for maintaining photo print quality, this section provides precise instructions for calibrating various parts of the printer after repairs or component replacements. This includes advanced print head alignment procedures (e.g., micro-adjustments for pixel-perfect alignment), paper feed adjustments (e.g., for different media types and thicknesses), and sensor calibrations to ensure consistent output.
- Maintenance Procedures: Guidelines for comprehensive preventive maintenance, including routine cleaning instructions for the print head, capping station, pump assembly, rollers, and internal components. Crucially, it will also detail how to manage and reset the waste ink counter or replace the waste ink pad/maintenance tank, which is a frequent and necessary maintenance requirement for these high-use photo printers.
- Circuit Diagrams and Wiring Diagrams: For those with electronics expertise, these detailed diagrams provide a visual representation of the printer’s electrical systems, component layouts on printed circuit boards (PCBs), and precise wiring connections, enabling advanced electrical diagnostics.
- Exploded Diagrams and Parts List: Visual breakdowns of the printer’s various assemblies, showing every component in an exploded view with its corresponding part number. This is incredibly useful for identifying and ordering the correct replacement parts from suppliers like diyinkjet.com.
Why This Epson Service Manual is an Indispensable Repair Resource
For dedicated owners and DIY enthusiasts working with the Epson Stylus Photo R1900 or R2880 A3+ photo printers, this service manual offers profound benefits:
- Significant Cost Savings: Empower yourself to perform many common maintenance tasks, critical calibrations, and even complex repairs in-house, drastically reducing expenses on external technician visits and costly service contracts. This is particularly valuable for specialized photo printers, where professional service can be exceptionally expensive.
- Minimized Downtime: Quickly identify and resolve issues, getting your essential wide-format photo printer back into operation faster and minimizing disruption to your creative workflow.
- Extended Printer Lifespan: Proactive maintenance and accurate repairs, guided by official procedures, help maximize the operational life of your valuable photo printer investment, making it a truly sustainable choice.
- Precision and Quality Preservation: For high-end photo printers like these models, maintaining precise calibration is paramount to consistent, high-quality, and color-accurate output. The manual provides the exact steps to ensure your printer continues to produce professional-grade photo prints.
- Empowerment Through Knowledge: Gain a deep and practical understanding of your printer’s advanced MicroPiezo technology, multi-color ink system, and intricate internal mechanisms, leading to greater confidence in tackling future problems independently.
- Sustainable Practices: Repairing and extending the life of your equipment rather than discarding it contributes positively to reducing electronic waste and promotes a more environmentally responsible approach to technology.